
Love working with the popular page builder Elementor? Want to create a popup using it?
Popups can be an integral part of your marketing strategy. They enable you to capture leads, promote your best deals and offers and showcase your featured products and services.
Creating popups in WordPress can be a bit of a challenge.
Fortunately, with the popular page builder Elementor, creating and customizing a popup in WordPress is pretty straightforward.
Elementor makes it super easy to build unique pop-ups for your WordPress website with its visual drag and drop interface.
Tweak them to match your requirements, add triggers based on user behavior, and do much more. And the best bit is, you don’t have to write a single line of code!
In this article, we’ll give you an overview of the different types of Elementor popups and explain how to create one using both the free and Pro versions of Elementor.
Let’s get started!
Elementor Popups: An Overview
Elementor is a hugely popular WordPress page builder plugin that enables you to build beautiful websites.
The visual drag and drop editor makes it easy to design pages the way you want.
With Elementor, you can create a variety of popups that appear after a predefined time or when a user performs a particular action.
You can also integrate the Elementor popups with various email marketing tools. This way, you can build your list and utilize them to send emails related to your online store.
Want to conduct a survey or ask for customer feedback? Popups can help you there as well.
In short, popups can be an integral part of your marketing strategy when used effectively.
Types of Popups You Can Create Using Elementor
Elementor comes with a host of professionally designed website kits that can be easily imported and tweaked based on your requirements.
You also have several popup templates that you can make use of or check third-party resources like Envato’s Elementor templates.
This takes us to an all-important question. What are the different types of popups?
With Elementor, you can create popups for the following:
Lead Capture Popup
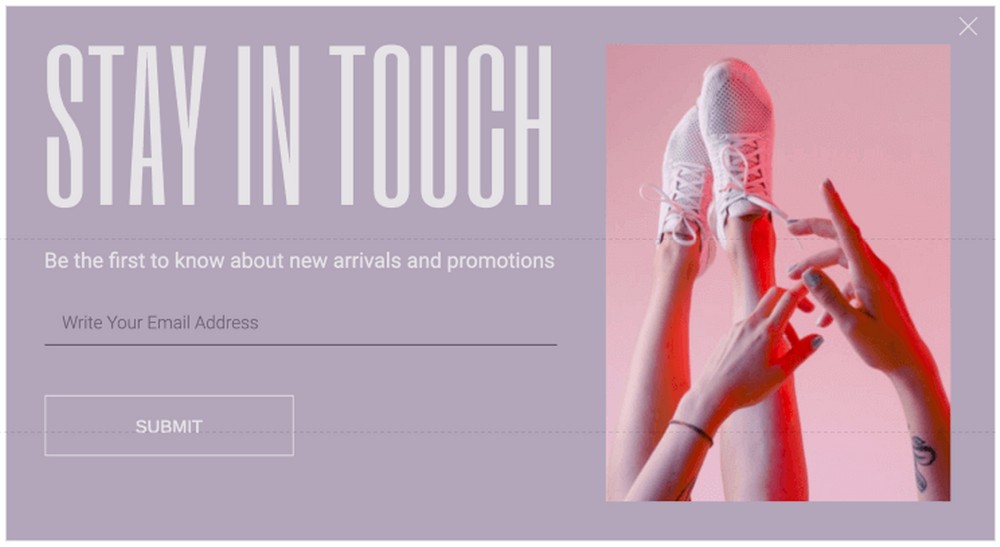
Email Subscription Popup
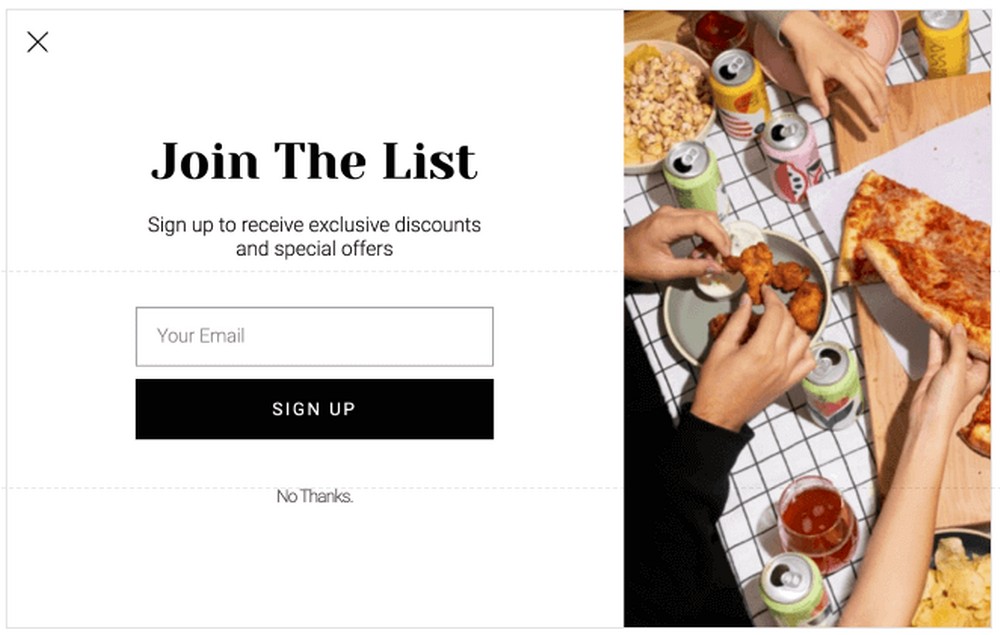
Promotion and Sales Popup
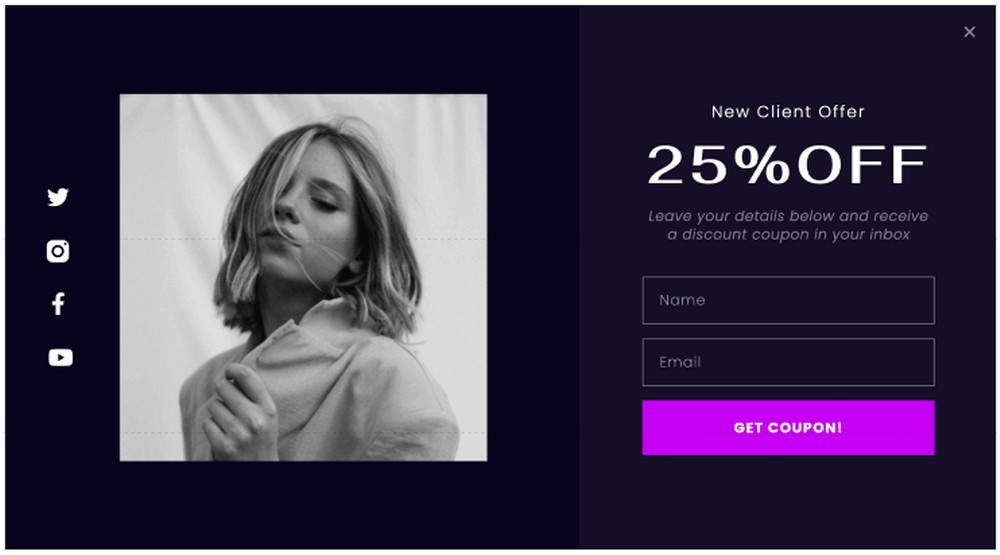
Login and Welcome Back popup
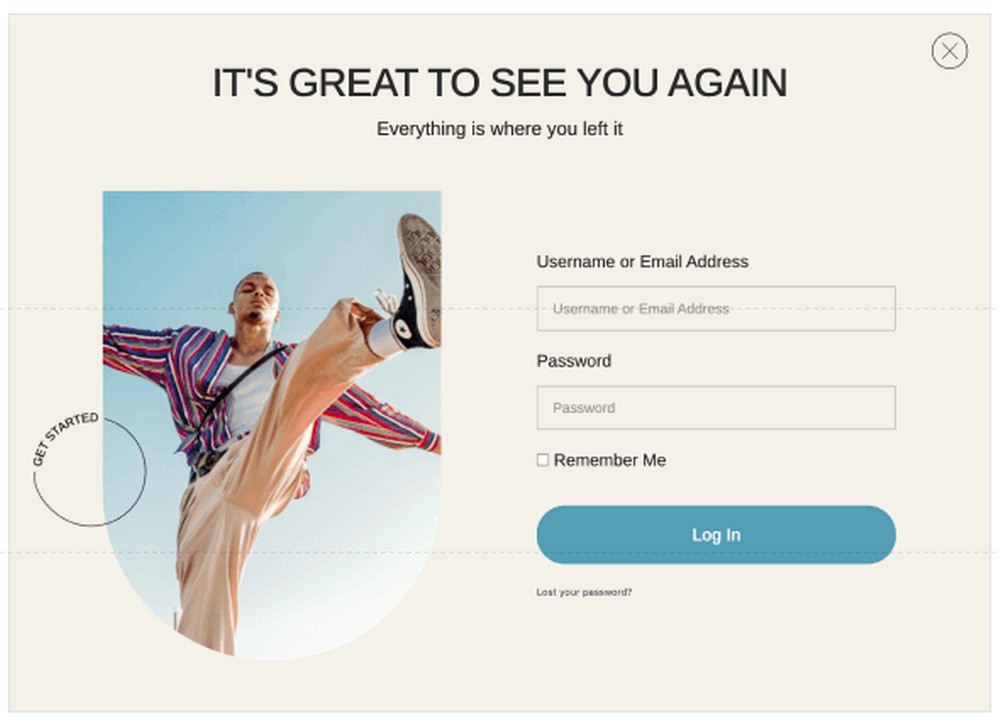
Restricted Content Popup
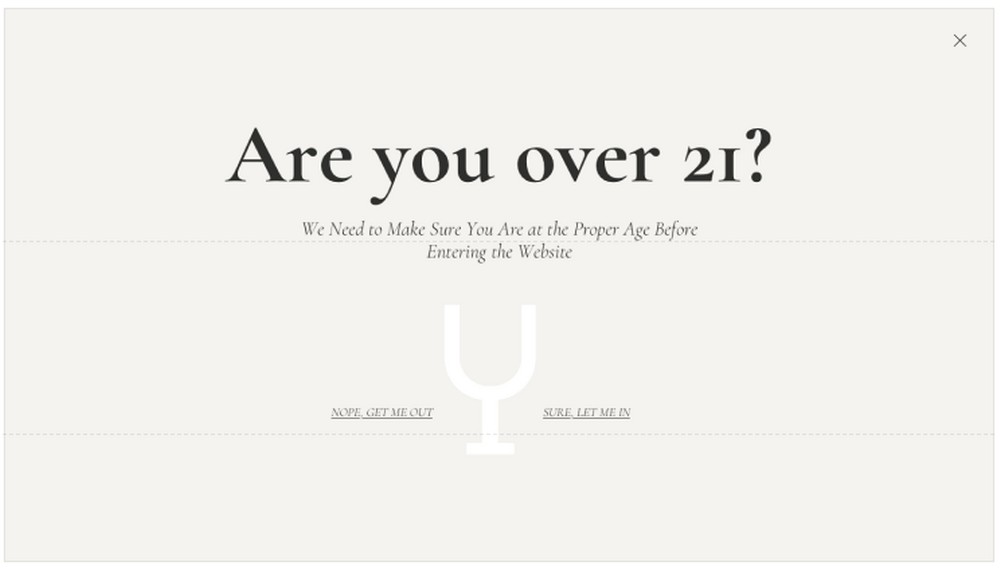
Exit Intent Popup
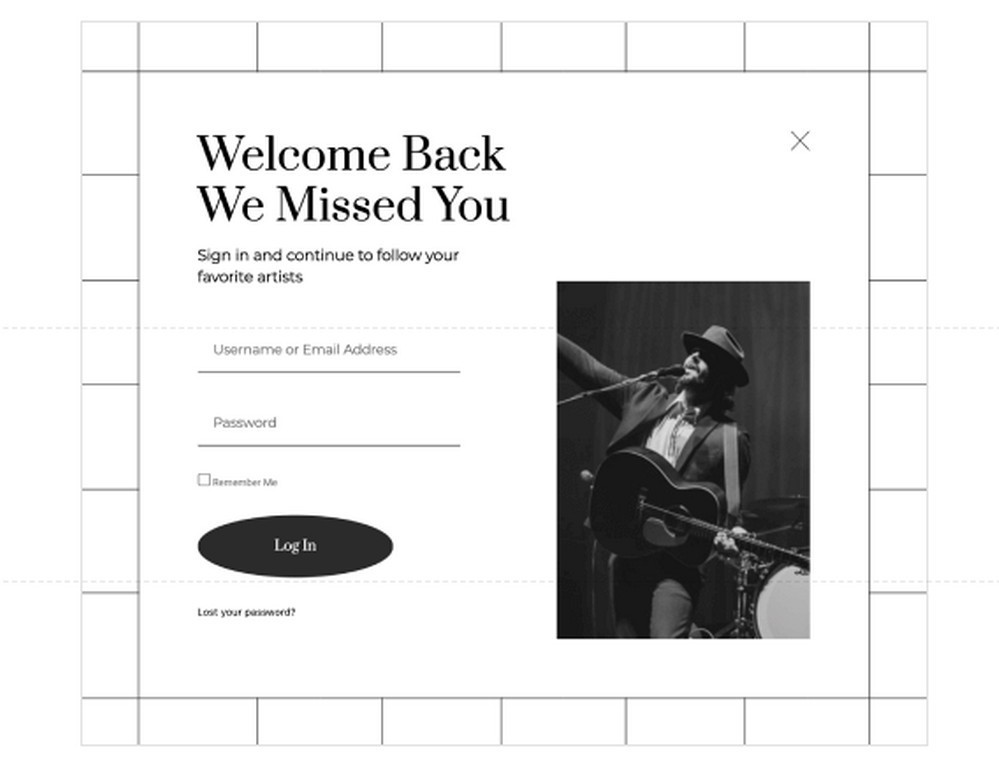
Announcements Popup
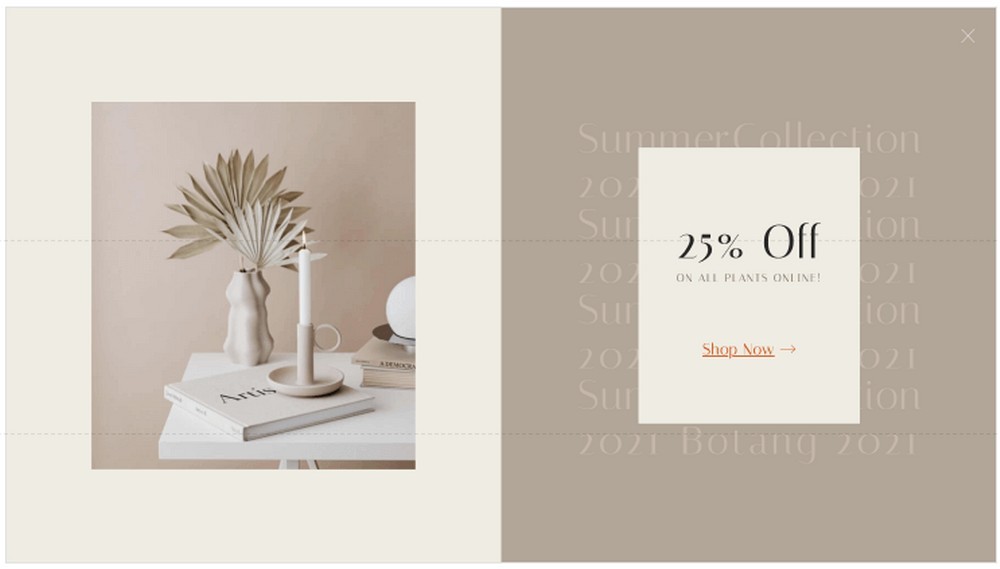
Welcome Messages
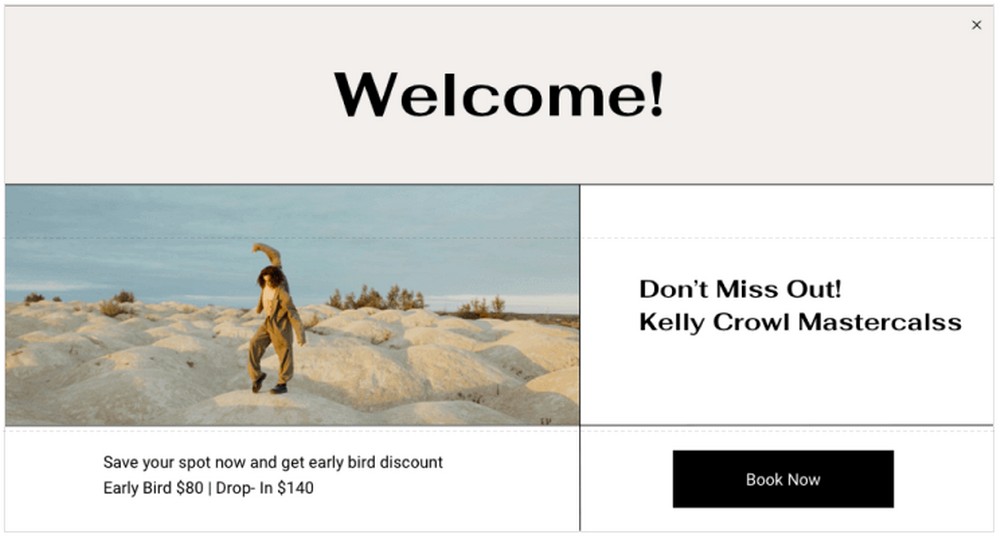
Related Products and Upsells
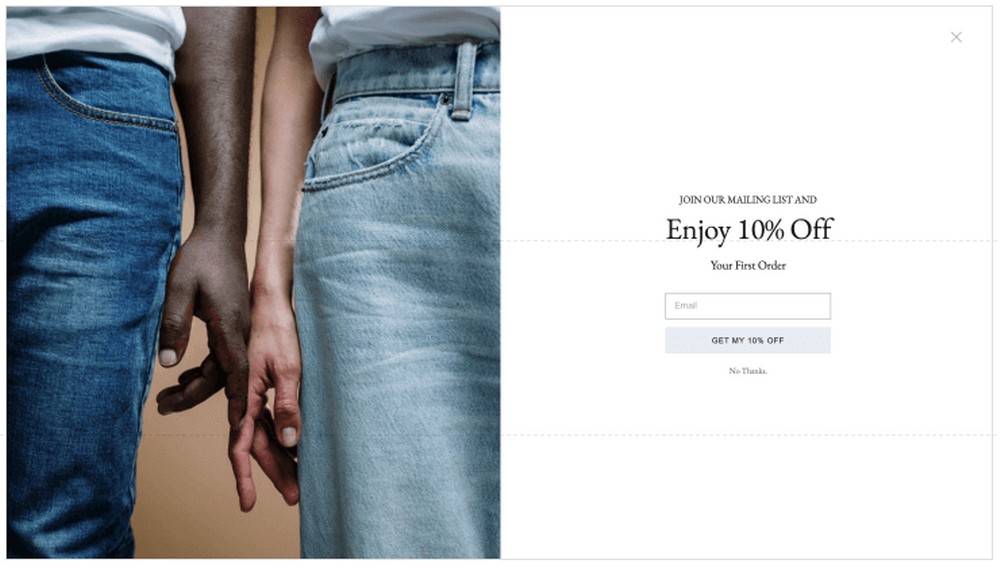
In addition to selecting from the different types of popups, you can also decide where to place them. Be it full screen, modal, slide-in, or even at the top or bottom of the screen.

Did you know that you can add conditions to your popups?
For instance, you can decide where you want to show the popups. Either across your website or exclude the popups from specific pages and posts.
You also get to add triggers.
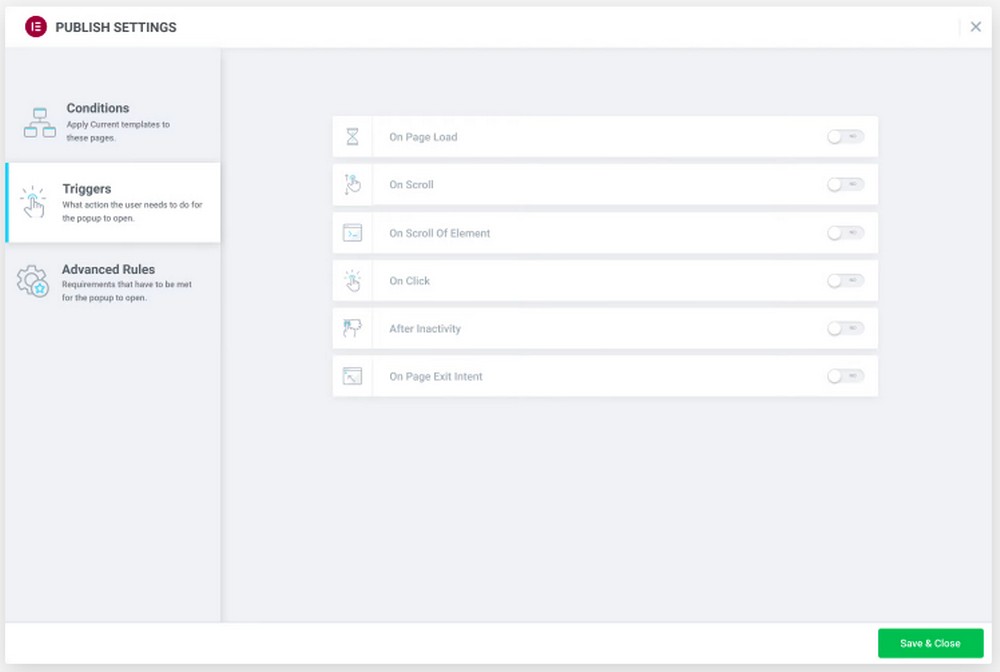
Triggers are where you show a popup after the page loads, after a page scrolls, or when your user is about to exit the page.
In short, there’s a lot you can do with popups.
However, having too many popups can annoy visitors, especially when they keep appearing.
Use them correctly, and you’d have got the best out of your marketing tool.
We’ll now explain how to create a popup using Elementor.
How to Create a Popup Using Elementor Pro (6 Simple Steps)
It’s important to note that the Popup Builder feature is available only in the Elementor Pro version. If you don’t have the Pro version, now is an excellent time to get it.
Step 1: Create a Popup
Assuming you have the Pro version installed, head over to Templates > Add New from your WordPress dashboard.
Select the type of template you wish to create from the dropdown, which in our case is Popup.
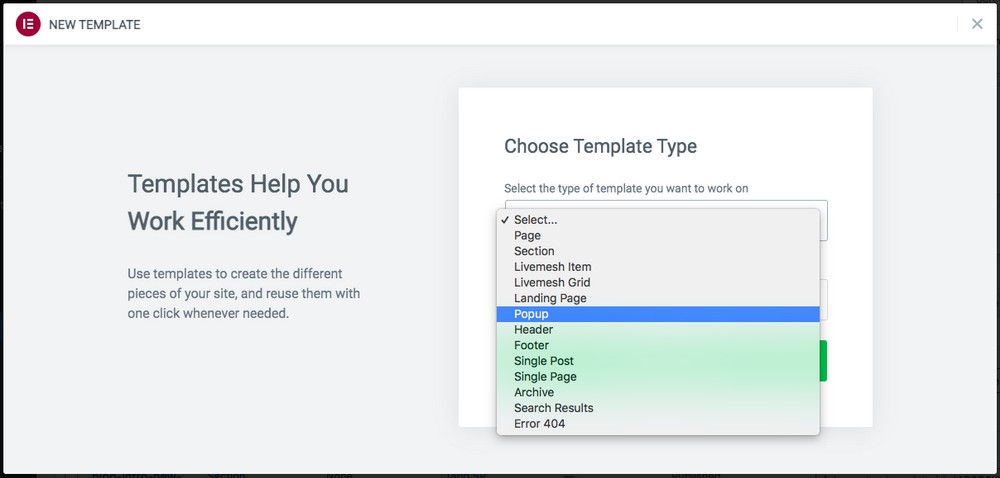
Give your popup a name, and then click Create Template.
You’ll now be directed to a library of popup templates.

Select a popup from the Category dropdown. This could be for the bottom bar, full screen, slide-in, or anything that suits your requirements.
To use a popup template, click Insert, which you notice when you hover over any of them.
You’ll then be directed to the Elementor editor, where you can now customize your template.
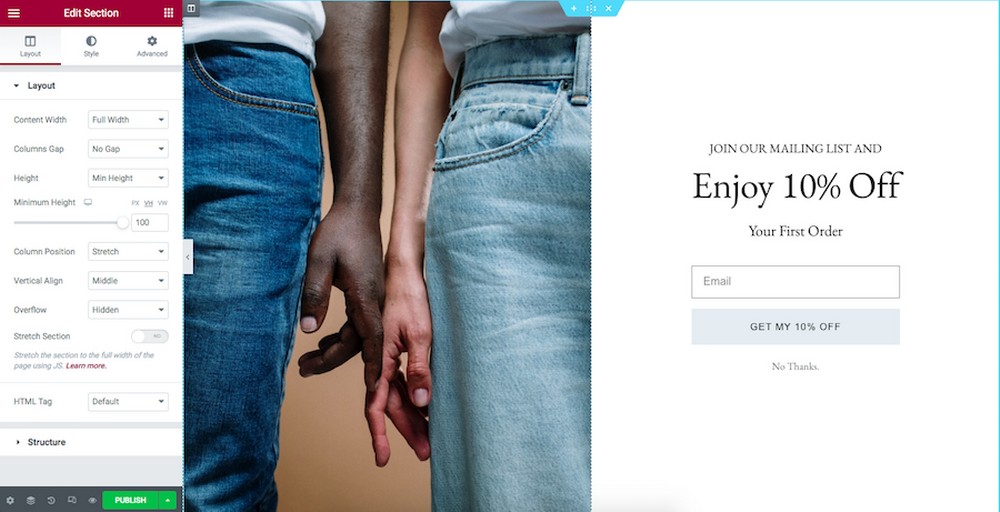
Change the colors, text, image, or anything else to match your design requirements.
Step 2: Set Up Conditions
Happy with what you see? If so, click on the Publish button.
This will open up the display settings.
You could also click on the arrow adjacent to the publish button and click on Display Conditions.
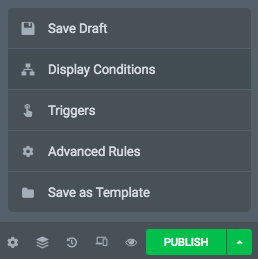
Both options will open the following window.
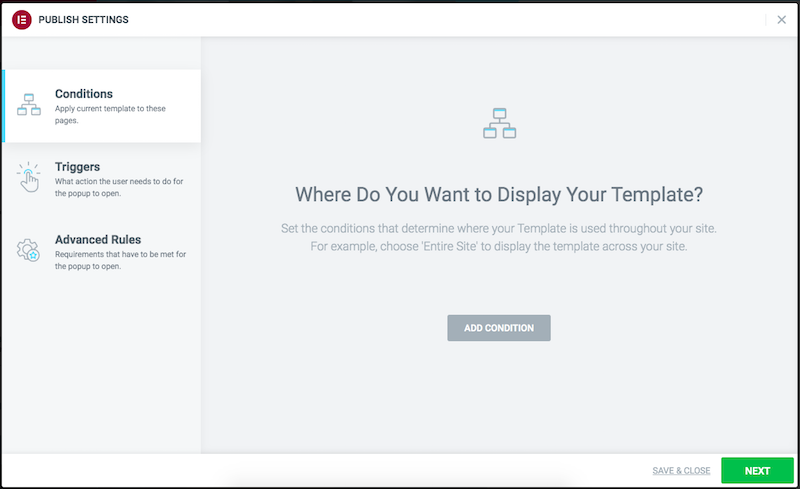
Go ahead and play around with the various options provided here.
For instance, under the Conditions tab, click Add Condition and choose where you’d like to display your popup.
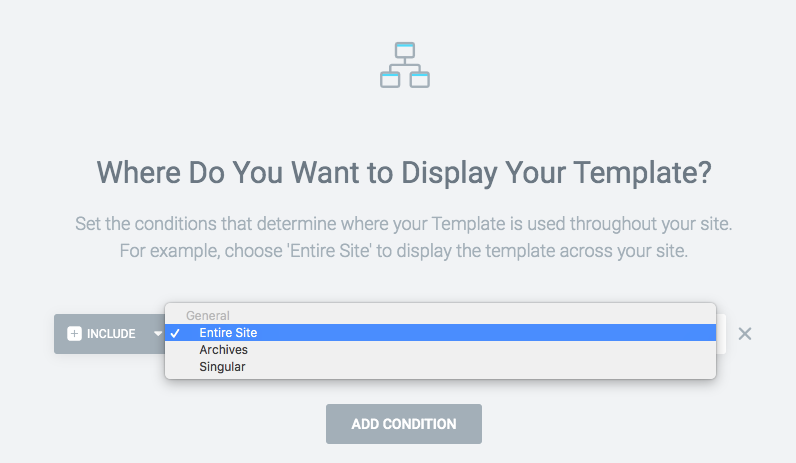
If you select Singular, you can choose the specific pages, posts, and landing pages where you want your popup to be displayed.
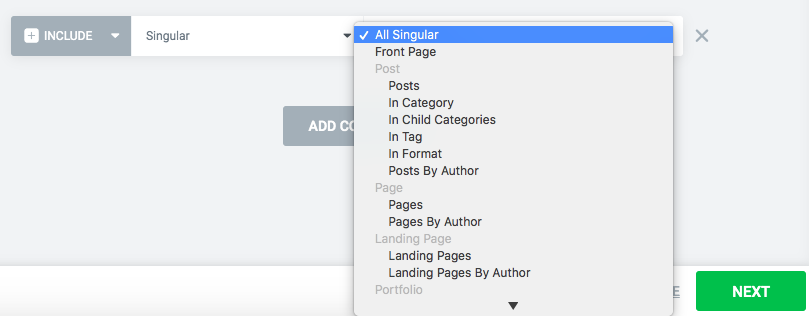
Once you are done with the conditions, click Next.
Step 3: Set Up Triggers
Now, you’ll be directed to the Triggers tab.
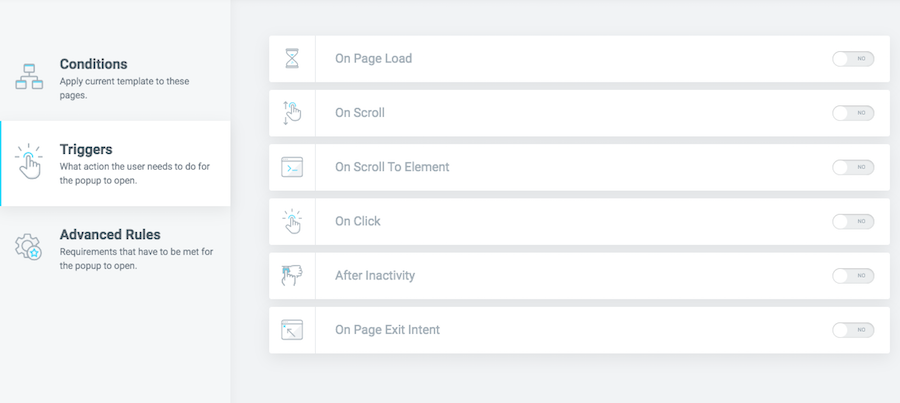
Enable triggers by clicking on the toggle button to activate them.
For instance, if you enable the On Page Load option, you can even set a time interval.

Your popup will be displayed within the time interval that you set.
Similarly, you can enable any of the triggers you like.
Once you are done, click on Next.
Step 4: Set Up Advanced Rules
Finally, you have the Advanced Rules tab.
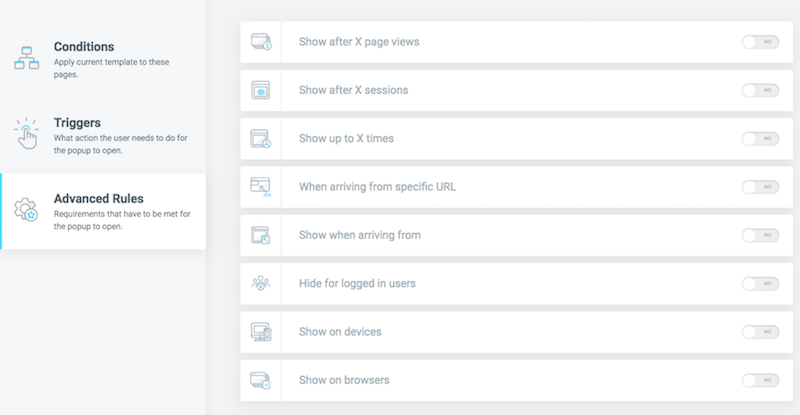
Want to show your popup after a certain number of page views?
Want to show the popup a certain number of times?
Want to show a specific popup for visitors coming from a particular URL?
Want to hide the popup for logged-in users?
You can set this and more under the advanced rules tab.
For instance, you may not want to show a popup to the same user several times. You can enable the Show up to X times option and set a value.
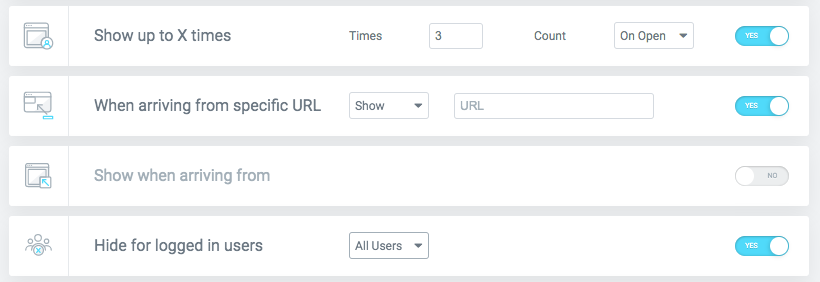
You could also enable the ‘When arriving from specific URL‘ option if there’s a tailor-made popup you’d like to display.
This works exceptionally well if you are running an offer or a discount for select members and want them to see a particular popup.
If a user is logged in, you probably won’t want to show popups. Enable the ‘Hide for logged in users’ option in such cases.
Once you are happy with the various settings, click Save & Close.
Click on Publish, and your popup will be live!
Step 5: Save as Template
If you want to use this popup at a later stage, you can save it as a template.
You’ll need to click on the arrow next to the publish button.
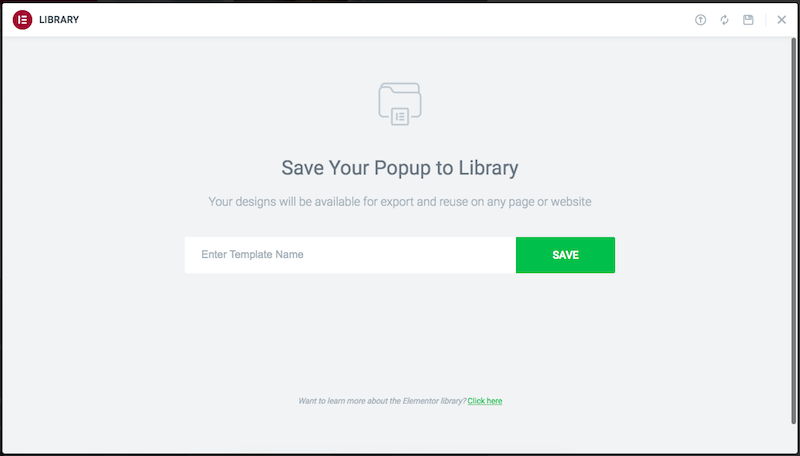
Enter a name for your template and click Save. You can then use it at a later stage.
Step 6: Create a Popup Button
While we can set several conditions and triggers to display popups on your WordPress website, in some cases, you may want users to click on a button to open a popup.
Adding a button for a popup is pretty straightforward with Elementor.
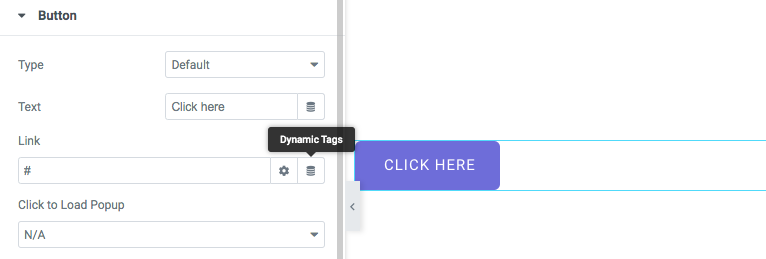
To begin, add a button to your page or post.
Then head over to the button settings.
Click on Dynamic Tags against the link field.
Select Popup under Actions.
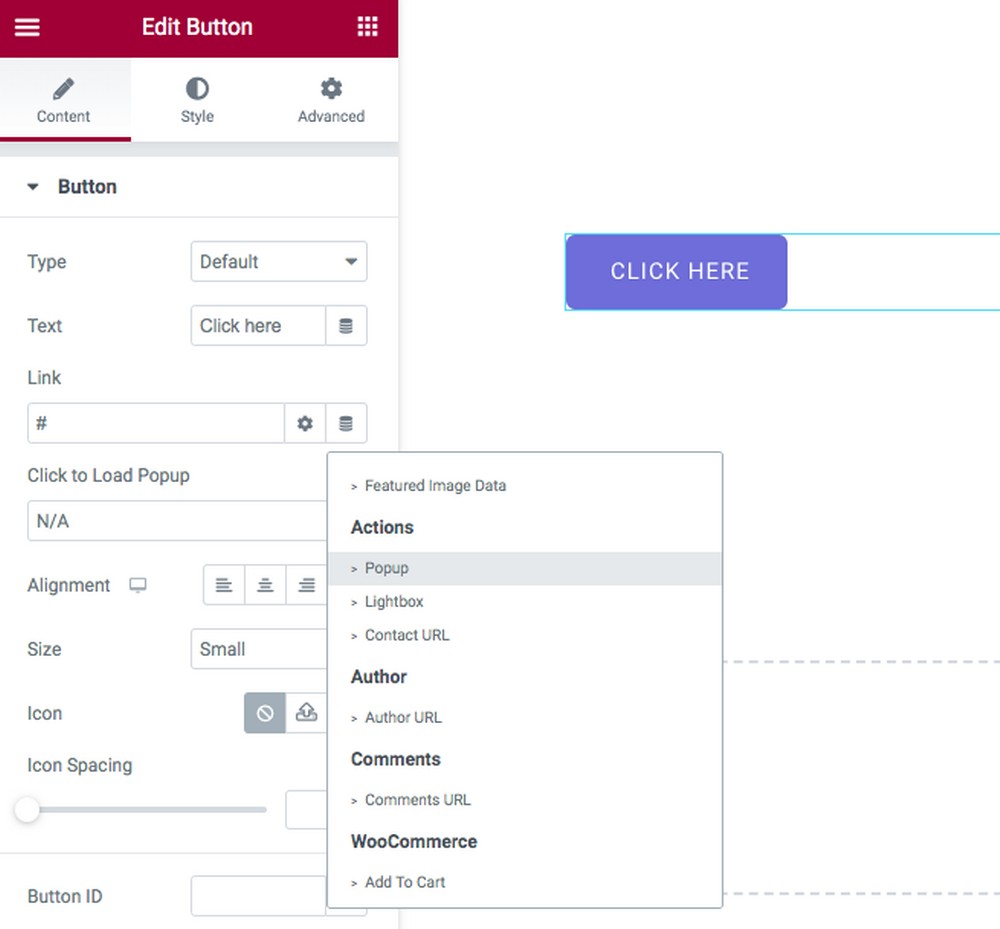
Do you notice a toolkit icon next to Popup?
Click on it.
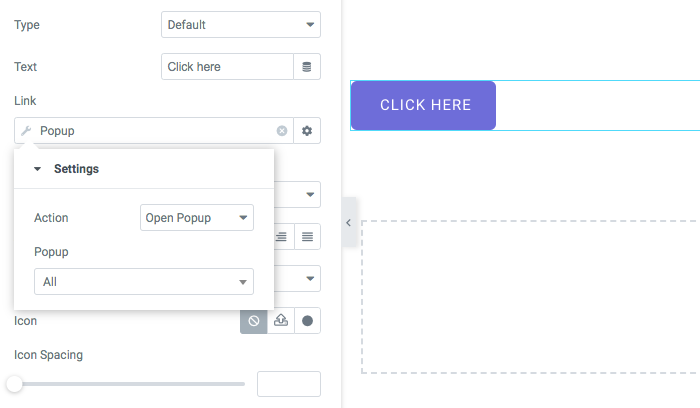
You can now select the specific popup and the action to be performed.
Once you are done, click Publish.
And that’s how simple it is to add a button to display popups!
How to Create a Modal Popup Using Elementor
We know what a popup looks like, but how different is a modal popup?
As seen earlier, we can set triggers and conditions for a popup to be displayed, such as on-page load, exit intent, page scroll, or anything else.
Whereas a modal popup is based on an action performed by the user, the simplest one being a click. It’s more intentional and isn’t as annoying as a popup that springs up now and then.
Additionally, a modal popup darkens the background and cuts any background noise, allowing users to focus on the content.
Before we get into the how, it’s important to mention that while we will be creating a popup using Elementor’s free version, we’ll need to use a premium WordPress plugin.
So, you’ll need to decide between Elementor Pro or the premium plugin.
For this section, we’ll use the Modal Popup widget, which comes with Ultimate Addons for Elementor (UAE).
Ultimate Addons for Elementor is a premium WordPress plugin that offers a number of widgets, templates, and section blocks to help you build unique websites using Elementor.
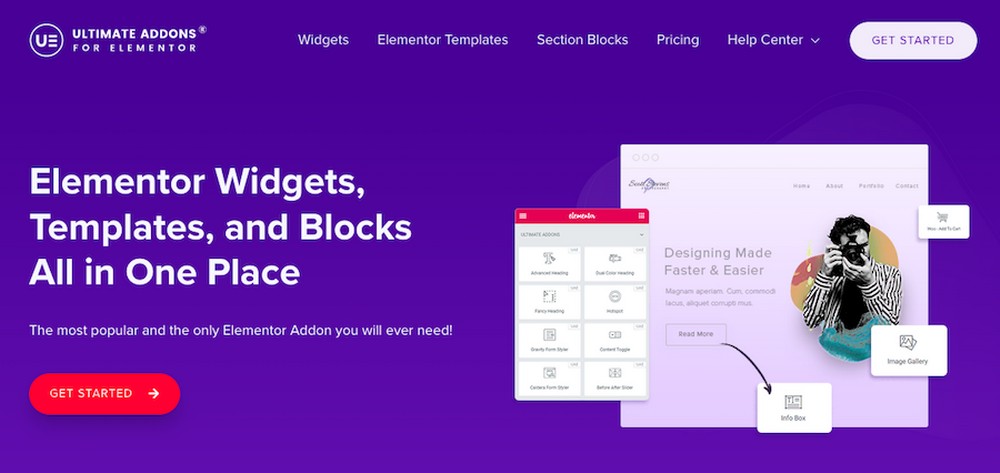
One such widget that we will use is Modal Popup.
With Modal Popup, you can create high-converting modal popups easily. It works incredibly well when you want to display a popup when the user clicks on a button, image, or text.
Let’s jump straight in!
Assuming you have the premium UAE plugin installed, go ahead and create a new page and open it in the Elementor editor.
Add a section and then insert the Modal Popup widget.

To view the popup, enable the Preview Modal Popup button.
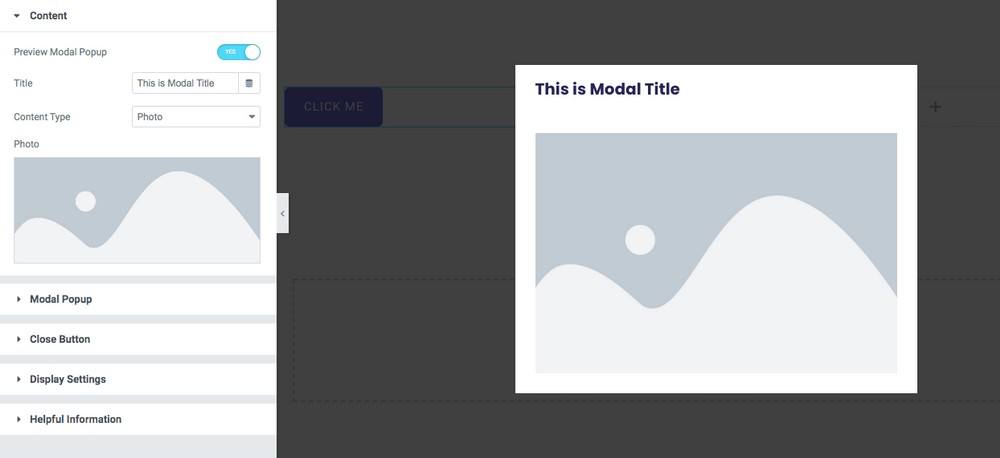
Play around with the options under settings.
Customize the various elements on your popup, such as the modal title, the content within the popup, and the close button.
Want to change the size of your popup? You can quickly get that done under the Modal Popup tab. You can also add some effects, such as fade in, slide in, and fall, among others.
Once you are done, click Publish.
Wasn’t it simple? We definitely think so!
Top 3 WordPress Popup Plugins
With Elementor, creating a popup is pretty straightforward. Elementor Pro makes it even easier with the Popup Builder.
However, if you aren’t looking for a premium page builder and want to use Elementor’s free version, you’ll have to consider installing some WordPress popup plugins.
Here are a few plugins to help you create a popup using Elementor’s free version.
1. Convert Pro
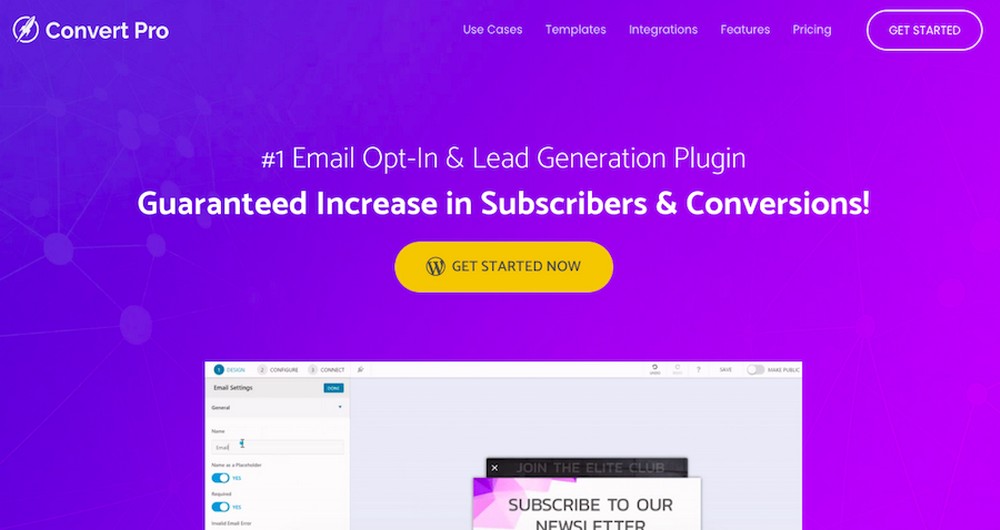
Convert Pro is a popular WordPress plugin developed by the team that’s behind the hugely popular WordPress theme, Astra. With Convert Pro, you can easily create high-converting email opt-in forms and popups that convert visitors into subscribers.
The built-in drag and drop editor makes it super easy to design your opt-in forms in minutes without writing a single line of code. Convert Pro comes with an extensive library of professionally designed templates that you can choose from. Install it, and you are good to go!
2. JetPopUp

JetPopup is a user-friendly WordPress plugin that integrates perfectly well with Elementor. Create dynamic popup forms, email signups, countdowns, info cards, and more with JetPopup.
Want to use animation effects to grab user attention? JetPopup has you covered with various animation effects, such as fade, zoom in, zoom out, move in, bounce in, bounce out, and much more.
3. Popup Box Widget by PowerPack
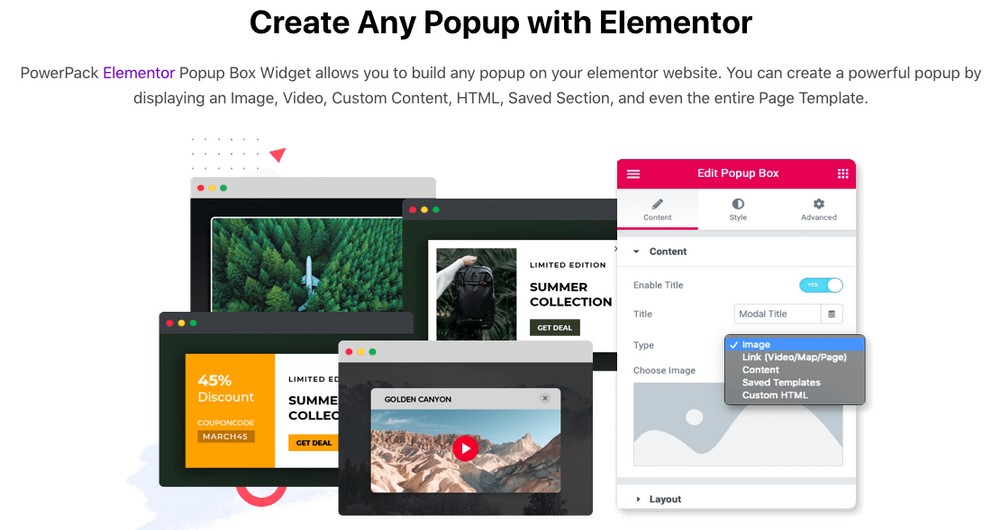
PowerPack is a premium WordPress plugin that offers several widgets, templates, features, and premium Elementor addons to enhance the design possibilities for your website.
Your popups can display images, videos, custom content, and even an entire page template. Trigger popups based on user actions, such as exit intent and custom time delays. Want to create an interactive two-step popup? PowerPack has you covered.
The Anatomy of an Effective Popup
Popups are one of the most popular and effective forms of marketing. They’re also one of the most challenging to design and execute effectively.
In this section, we’ll give you an overview of the anatomy of an effective popup.
We’ll discuss the theory behind them, the process of designing them, and the design principles that should be followed.
We’ll also give you some tips on how to create an effective popup and how to optimize it for success.
The Theory of Popups
As seen in this article, a popup is a marketing tool that can be used to build a list, promote an offer, direct users to a specific page, and more.

Popups are popular due to many reasons, including:
- Increase brand awareness and enhance a brand’s profile
- Create a sense of urgency
- Track conversions
The Process of Designing Popups
We’ve identified six steps to designing a popup. They are:
1. Understand the type of audience you’re trying to reach
Before you start designing, you need to know who you’re designing for. Often, a customer’s first impression of a brand is the design of the popup.
Therefore, it’s essential to know who you’re designing for and what kind of people they are.
2. Create a persona
A persona is a fictional character that you create based on the type of people you’re designing for.
For instance, if you’re creating a tourism-related popup, imagine your persona as someone who is a history buff, in their 50s and loves to travel to uncommon places. Showcasing destinations like the Utah Beach Museum in France in your popup can be highly effective and engaging for this audience.
This can help you better understand the type of person you’re designing for and give you a better chance of converting them.
3. Create a buyer persona
A buyer persona is the same idea as a persona, except that it’s based on the kind of people who tend to buy your product.
For example, if you’re creating a dating-related popup, your buyer persona will be someone interested in finding a partner or getting a date.
4. Make a buyer journey map
A buyer journey map is a visual representation of your customer’s journey. It includes all the steps your customer takes on their path to purchase.
A journey map can help you understand your customers’ wants and accordingly inform your designs.
5. Create a landing page
A landing page is where you want a customer to make a purchase or take action. A well-crafted landing page can help boost your conversion.
6. Optimize the landing page
This is where you want to make a customer feel compelled to buy. You can show them the product, explain what it does, and give them a discount or other incentive to purchase.
Tips on How to Create and Optimize an Effective Popup
Getting the best out of your popup can take time. You’ll need to test different versions and see what works and what doesn’t.

Here are a few tips on how to create and optimize your popup.
1. Know how long your popup will be open
It’s natural to want to keep your popup open as long as possible, but you need to remember that the longer it stays open, the more attention it loses.
2. Optimize your popup
It’s important to remember that popups are designed to be one-time events. They’re designed to be seen and clicked on as quickly as possible.
3. Use the right landing page
Your landing page needs to have the correct type of copy, design, and structure to make the most out of your popup.
4. Write the best copy
Your copy needs to be as clear and concise as possible to have the best chance of converting.
5. Design your popups to be memorable
Good design can help make your popup memorable. It also needs to be easy to understand so that users can navigate and find their way through it.
6. Be consistent
Your brand should be visually and linguistically consistent throughout your website and popups. That way, users will perceive your brand as one entity instead of many brands.
7. Keep them relevant
The better your popup, the more likely users are to convert. That’s why you must ensure that your design and copy are as good as possible.
8. Offer a freebie
Offering a freebie can make a huge difference, too. It allows you to give away a piece of your product or service that might otherwise be worth selling without costing the customer much money or effort.
9. Have a clear exit button
It can confuse users if there’s no clear way out of your popup. You need to make it clear that there’s no reason to leave your site.
10. Make your popup surprising
Users are more likely to click on a popup if they’re surprised by the content.
Creating a Popup Using Elementor
Popups can be an essential part of your lead generation and marketing strategy. When used correctly, they can also help you engage your website visitors, promote your products and services, collect feedback, conduct surveys, and more.
Creating a popup in WordPress can be a bit of a challenge. Fortunately, with the Elementor page builder, you can easily create custom popups.
In this article, we’ve shown you how to create a popup using the free and Pro version of Elementor. We’ve also shown you how to use a premium WordPress plugin to create a popup.
Over to you now. How do you create a popup on your WordPress website? Let us know in the comments below.
