If you need your website to grab your visitors’ attention, then having animated text could be just what you need.
For example, look at my homepage, notice anything? That’s right, animated text. I have been using animated text since 2016, but up until now, it has been hard to do.
And one of the Elementor addons will make it incredibly easy to do.
What is an animated headline?
An animated headline on a hero section is a great way to catch your reader’s attention and draw them into the rest of the content. Animated headlines feature a partially static headline with a word or phrase that continues to change.
While creating such headlines required a lot of technical know-how in the past, it is now super easy to do using a combination of the Elementor free version and Ultimate Addons for Elementor, or just Elementor Pro.
Now, creating attractive headlines like these is a simple drag-and-drop away!
Why should you add animated text to a website?
Animated text can help bring your website to life by grabbing visitors’ attention and making your content more engaging.
Adding animated text to your site is a great way to add visual interest. It can also help highlight important information or explain complex concepts in an easy-to-understand way.
Animated text can also be used effectively as part of a call to action, or to draw attention to special offers and promotions.
If you want your website to stand out from the crowd, adding animated text is a great way to do it!
How to add animated text using Elementor
Adding animated text to your Elementor website is a great way to add some pizzazz and personality.
There are a few different ways that you can do this, but we’ll be using Ultimate Addons for Elementor (UAE) here.
UAE is one of the advanced Elementor addons that offers a lot of new interactive blocks for designing your pages. Your UAE subscription is valid on unlimited websites and there’s also a lifetime plan available!
Along with the advanced animated headlines, UAE offers:
- Animated paragraph text
- Dynamic countdown timer
- Animated background videos
- Responsive Google Maps
- Animated icons
- Image carousels
- Pricing tables
- WooCommerce product carousels
You can find a full list of all the Ultimate Addons for Elementor blocks by clicking on Widgets from the homepage menu.
Let’s now jump into creating animated text with Elementor and Ultimate Addons for Elementor!
Step 1: Install and activate the UAE plugin
The first step is to install Ultimate Addons for Elementor. This plugin adds a lot more functionality to Elementor making it even more powerful than before!
- Install it from the Ultimate Addons for Elementor website. If you haven’t created your account, you’ll need to do so.
- After you log in to your account, you can download the zip file for Ultimate Addons.
- Now go to your WordPress Dashboard > Plugins > Add New.
- Here, click the Upload Plugin button at the top of your page.
- Choose the zip file that you just downloaded and click Install.
That’s it! Ultimate Addons for Elementor will now be installed on your website. Go ahead and activate the plugin to begin using it.
Step 2: Add the fancy heading widget to the desired location
Here’s what a fancy heading looks like!
The text in yellow with the cursor at the end has an attractive typing animation that instantly grabs user attention.
Let’s see how we can add this widget to our pages.

- Start by editing any of your pages with Elementor
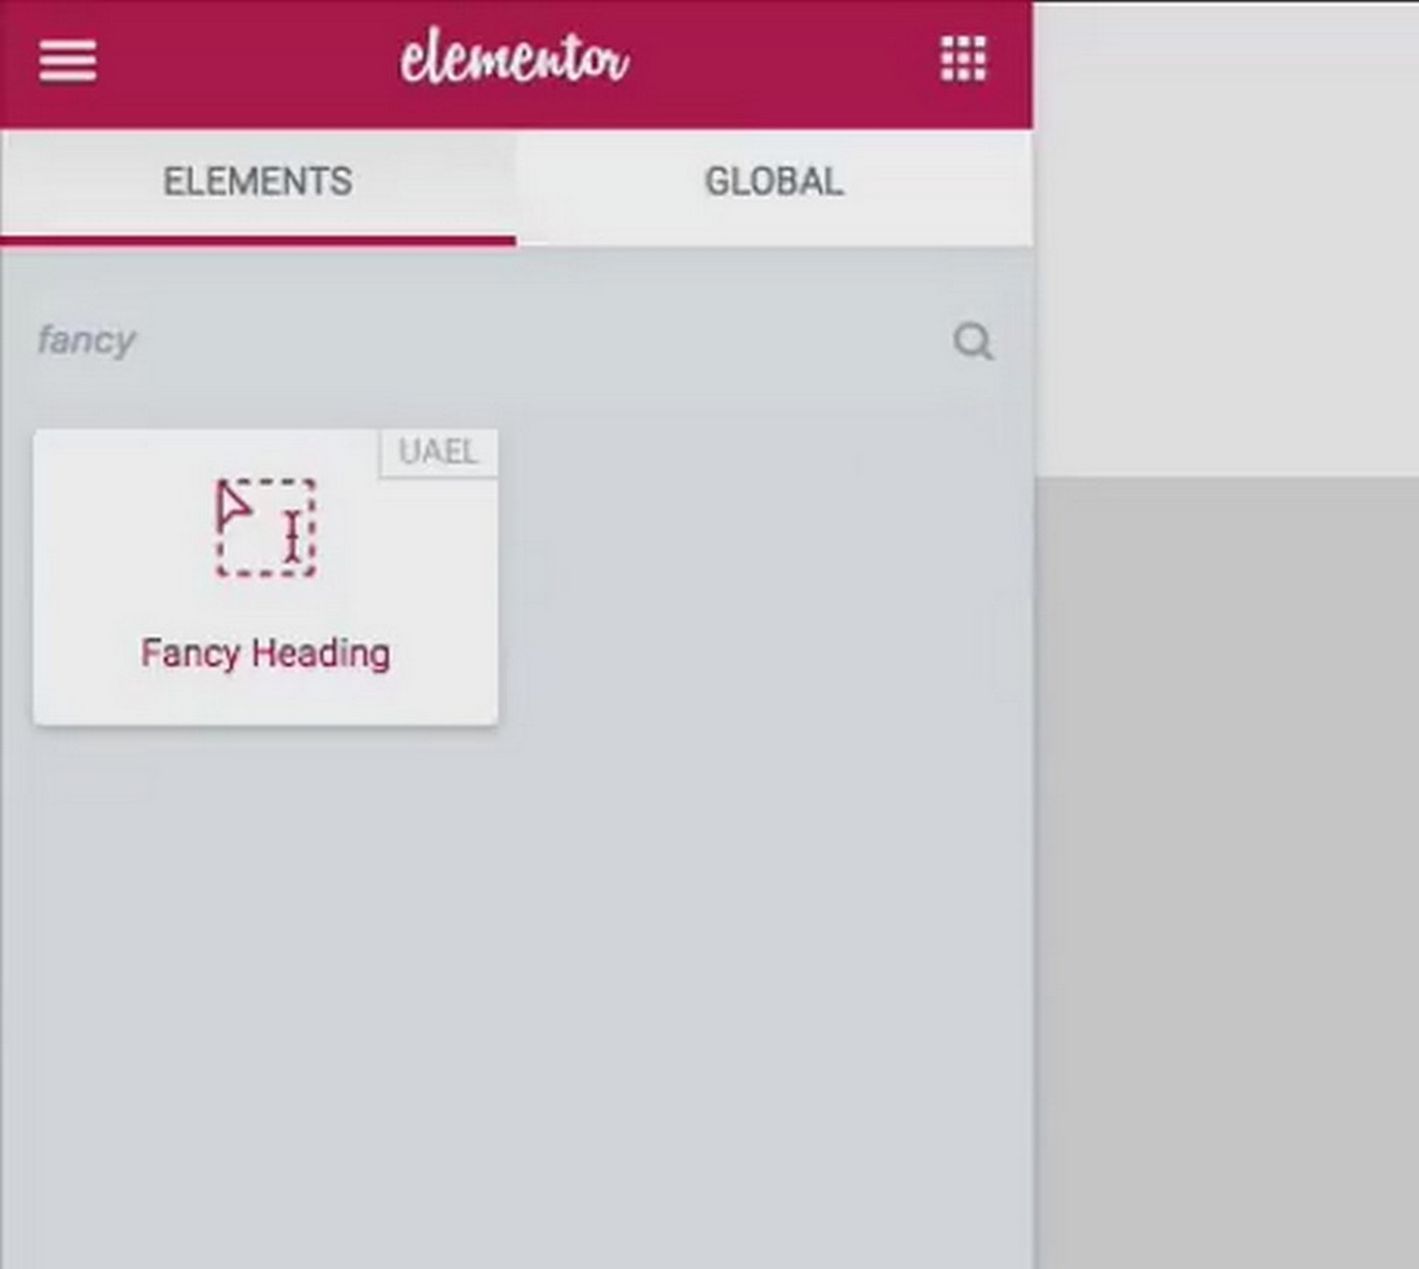
- In the search box for Elementor elements, look up Fancy heading

- Once you find it, drag and drop it on the page
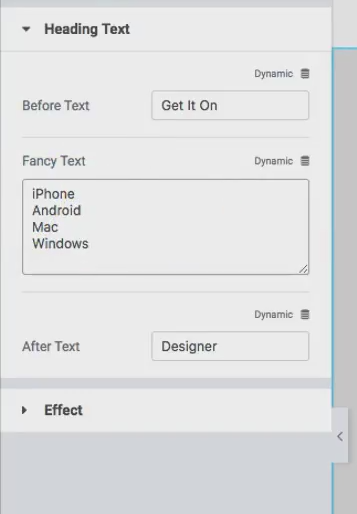
- Then edit the text that needs to be static and the part which needs to be dynamic.

- Once done, you can get started with customizing it.
Step 3: Style your animated heading
There are multiple types of animations that you can add to your headings and settings.
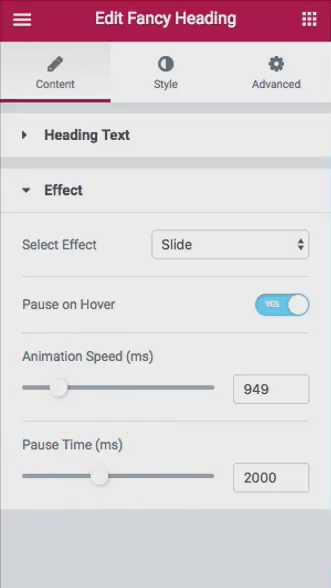
Simply click on the Effect section under the animated heading section and start customizing the animations.

You can adjust how the text switches between different pieces by selecting the effect. You can also adjust the speed and the time to pause between each change.
These options will give you the perfect effect for your website and help you make it look exactly the way you want it to!
Adding animated text with Elementor Pro
Alternatively, you can also create animated headlines with Elementor Pro’s new Animated Headline widget.
If you are more of a visual learner, we’ve created a video for you which you can watch here.
The Animated Headline widget is pretty straightforward, so here are the quick steps to get you started.
Step 1: Install and activate your Elementor Pro license
Step 2: In your WordPress admin panel, go to Pages > Add New
Step 3: Click Edit with Elementor
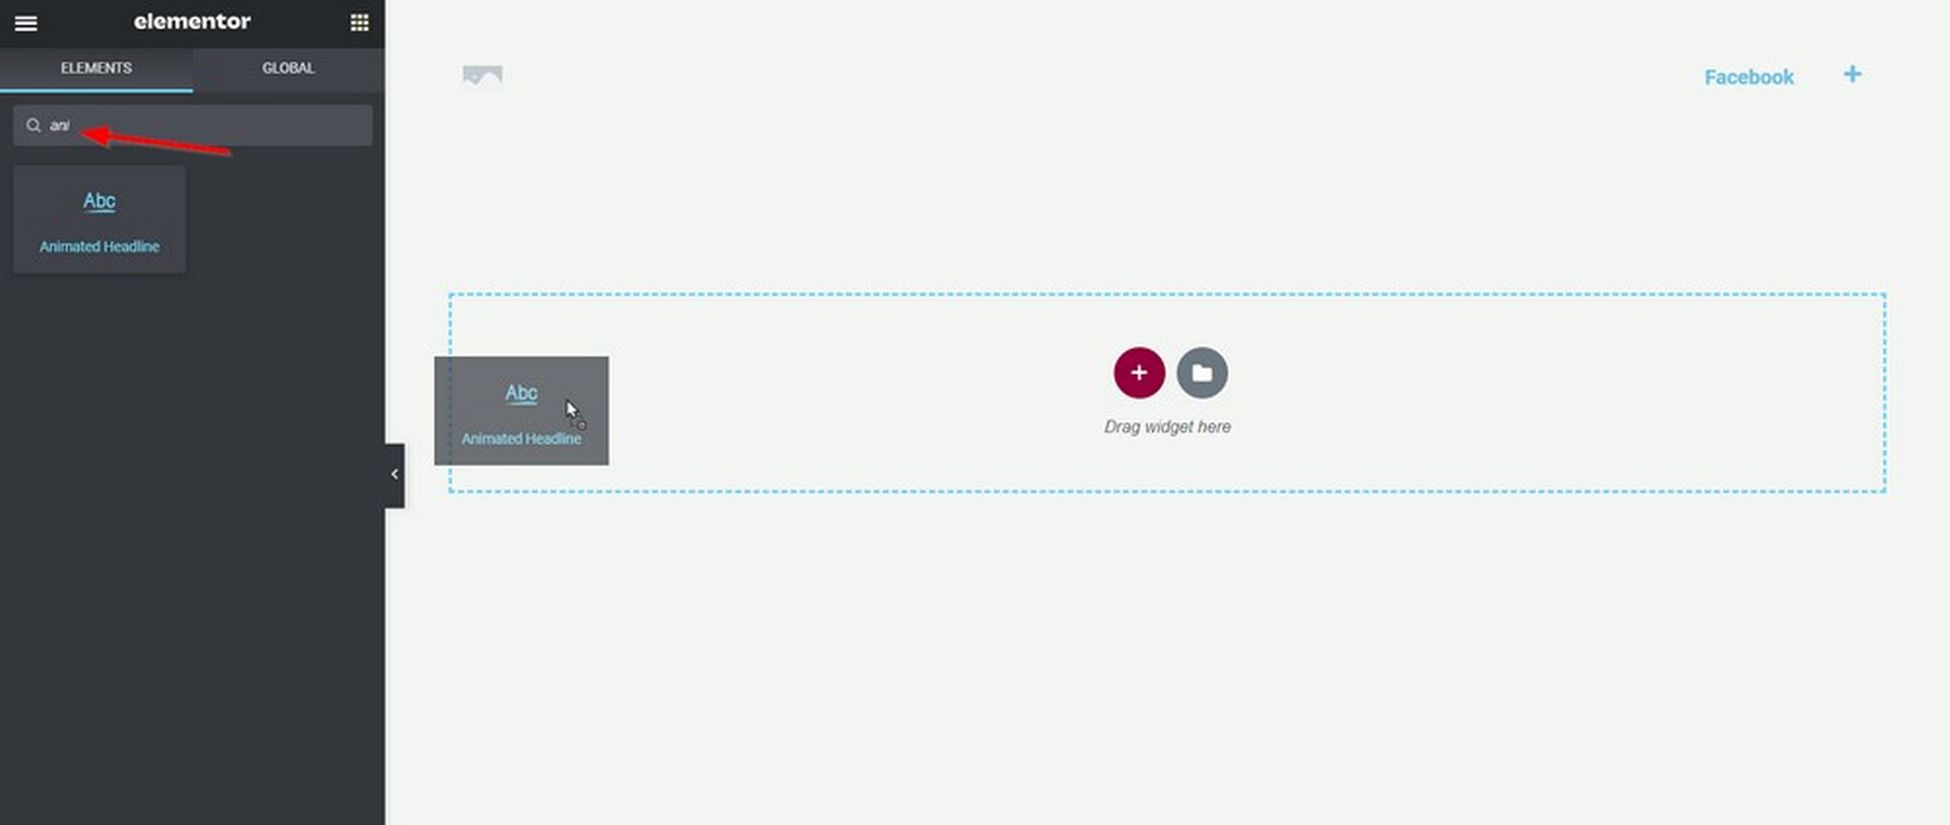
Step 4: Look for the Animated Headline widget in the list of available widgets. Now drag and drop it on your page

Step 5: Enter your headline text by splitting it into Before Text, Highlighted Text, and After Text. The highlighted text is the one where your animation is activated
Step 6: Customize the type of animation from the dropdown options

Step 7: Preview and publish your changes!
That’s all there is to it!
You can now easily add an animated headline to your website using Elementor Pro.
Whether you want to grab the attention of your visitors or make your content more engaging, this powerful widget makes it quick and easy to do so.
So why wait?
Start adding animated headlines to your site today, and watch as they help boost engagement and drive conversions!

I have a static header that stays at the top of the screen when you scroll. However, when I add an animated headline, that text “rides” over the header when I scroll down. Is there a solution to this?
You have to use something called z-index to prevent this from happening. So increate it for your header or lower it for the animated text.